Full Window Replacement on a Hawkestone Home
- Home
- Residential Construction Contractor
Location: Hawkestone, Ontario
Service: Exterior Window Replacement
Type: Full-Home Window Replacement
Features: White vinyl double-pane windows, custom PVC trim, full weatherproofing and flashing integration
Contractor: N.S. Custom Contracting
Project Overview
What the Customer Wanted
Old windows do a lot of things wrong before they fail outright. Drafts in the corners when the wind picks up. Condensation between the panes on cold mornings. Sticky sashes that don’t open the way they used to. That’s usually the point where most people start thinking about replacement — not when one finally breaks, but when living with them stops feeling worth it.
This Hawkestone homeowner was at that point. The windows in the house had been in service a long time and were starting to show it. Seal failures, fogging between the panes, frames that had shifted slightly over the decades. With the property sitting close to Lake Simcoe, wind exposure made all of it more noticeable than it would be on a sheltered lot further inland.
The ask was straightforward. New windows across the whole home. Not custom, not over-designed — just proper new units, installed right, without creating a mess of siding repair work around every opening.

What We Installed
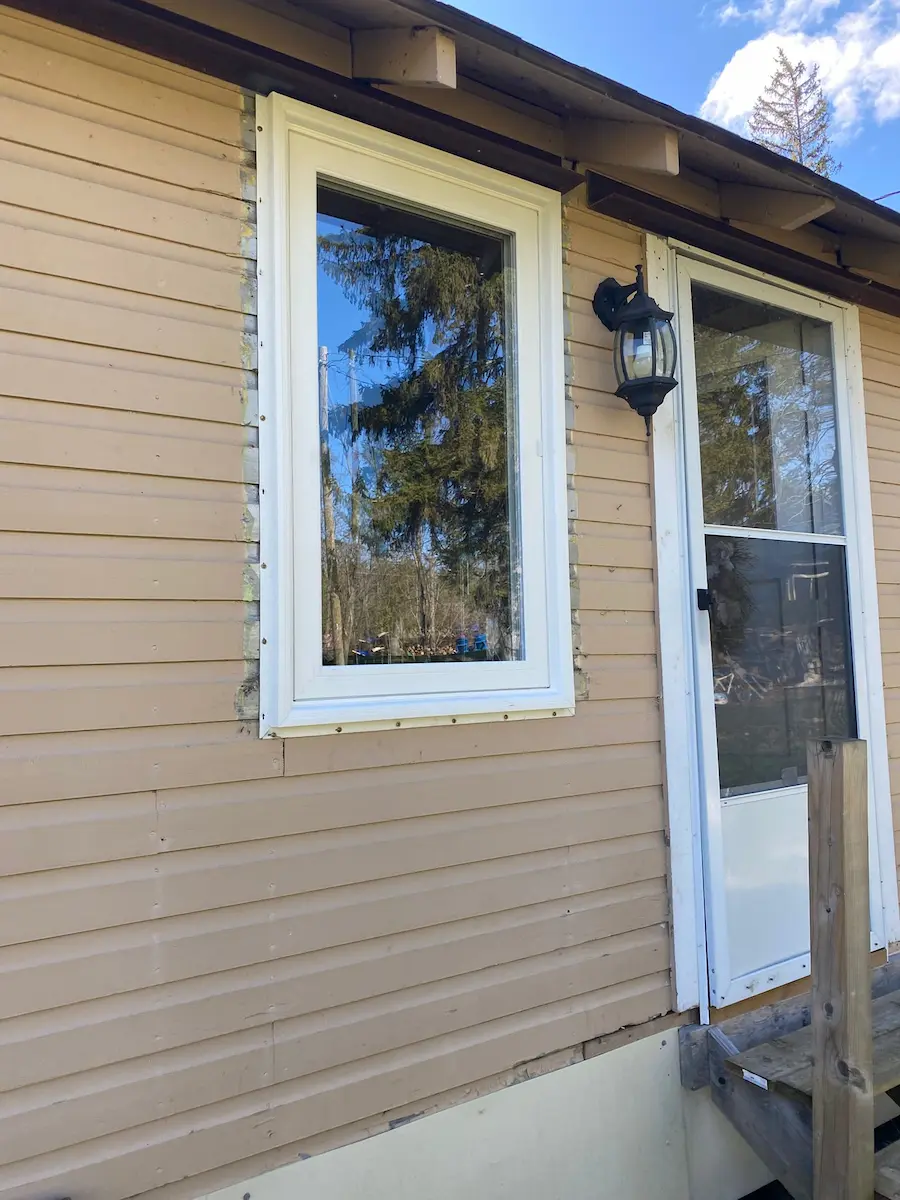
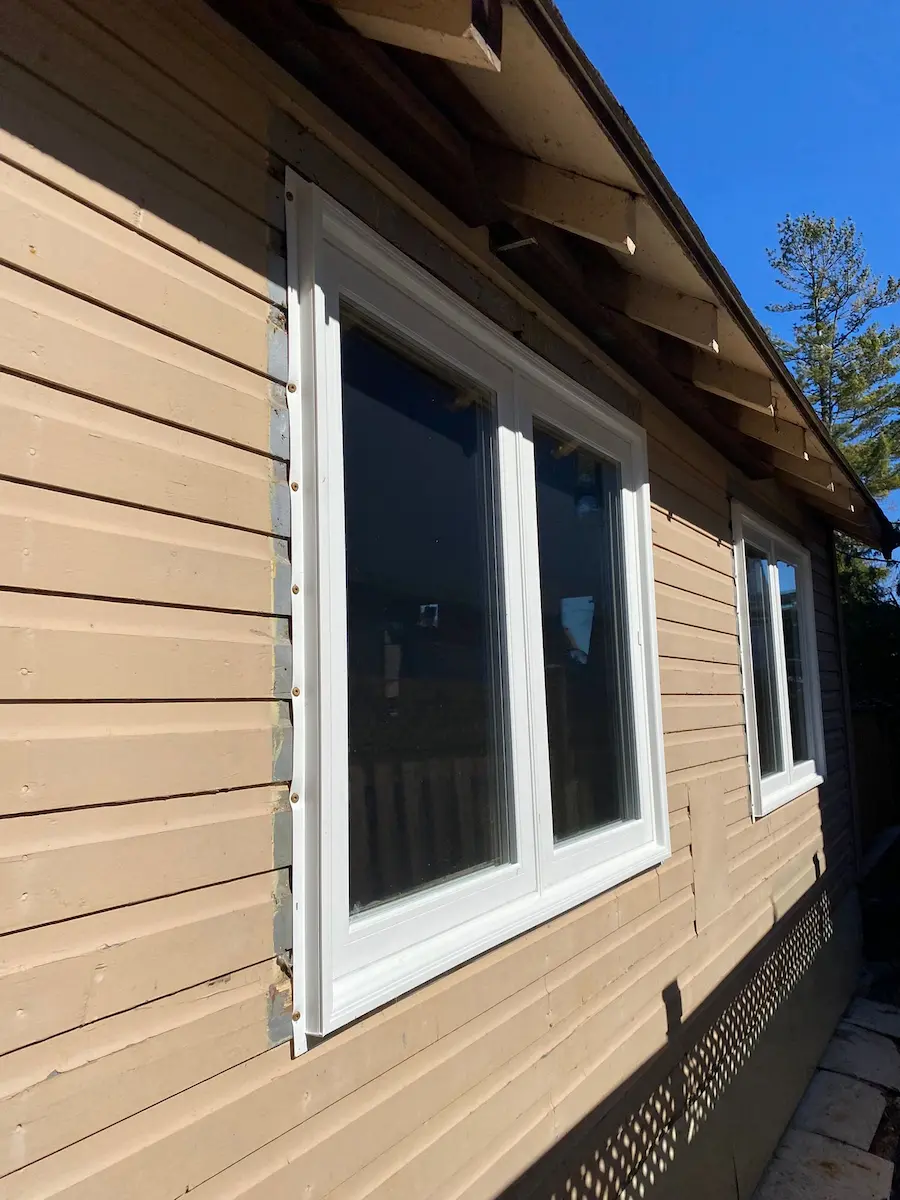
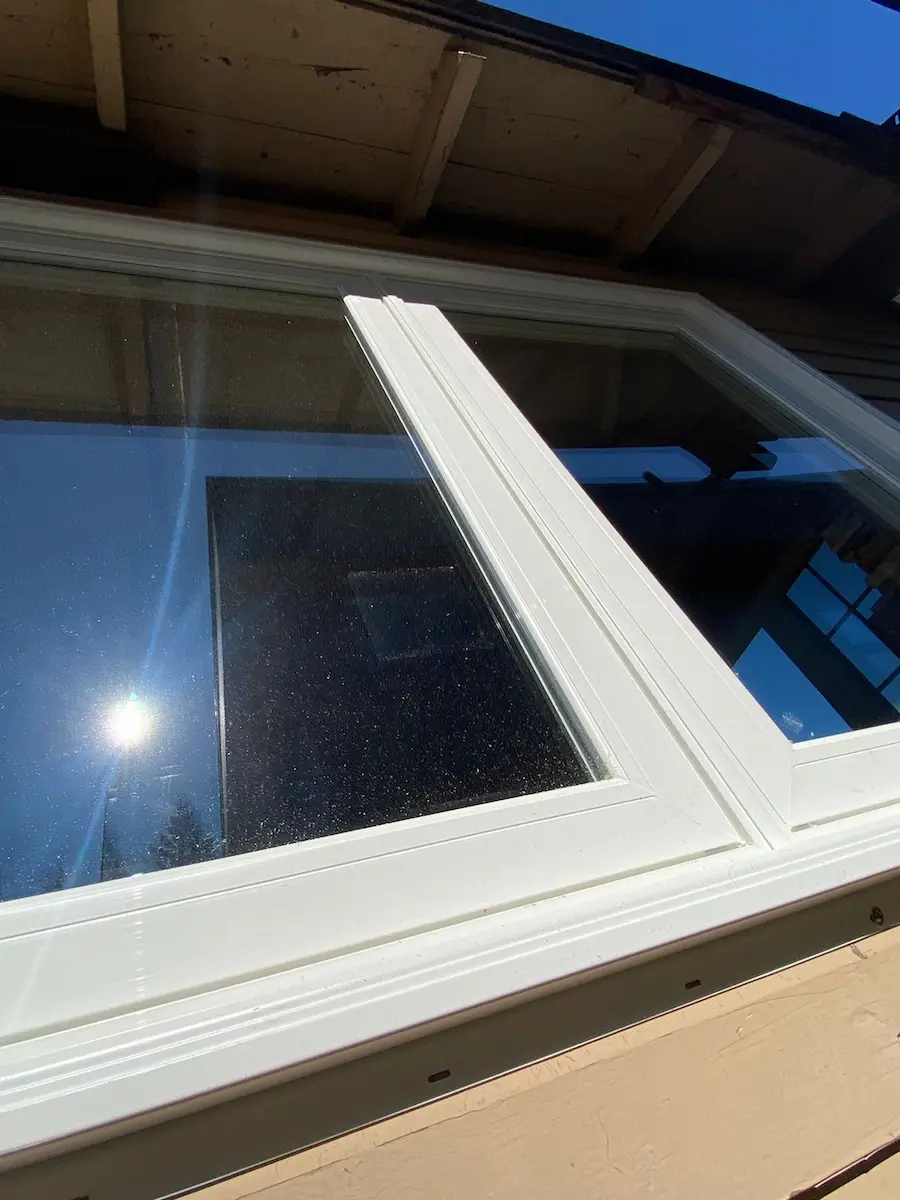
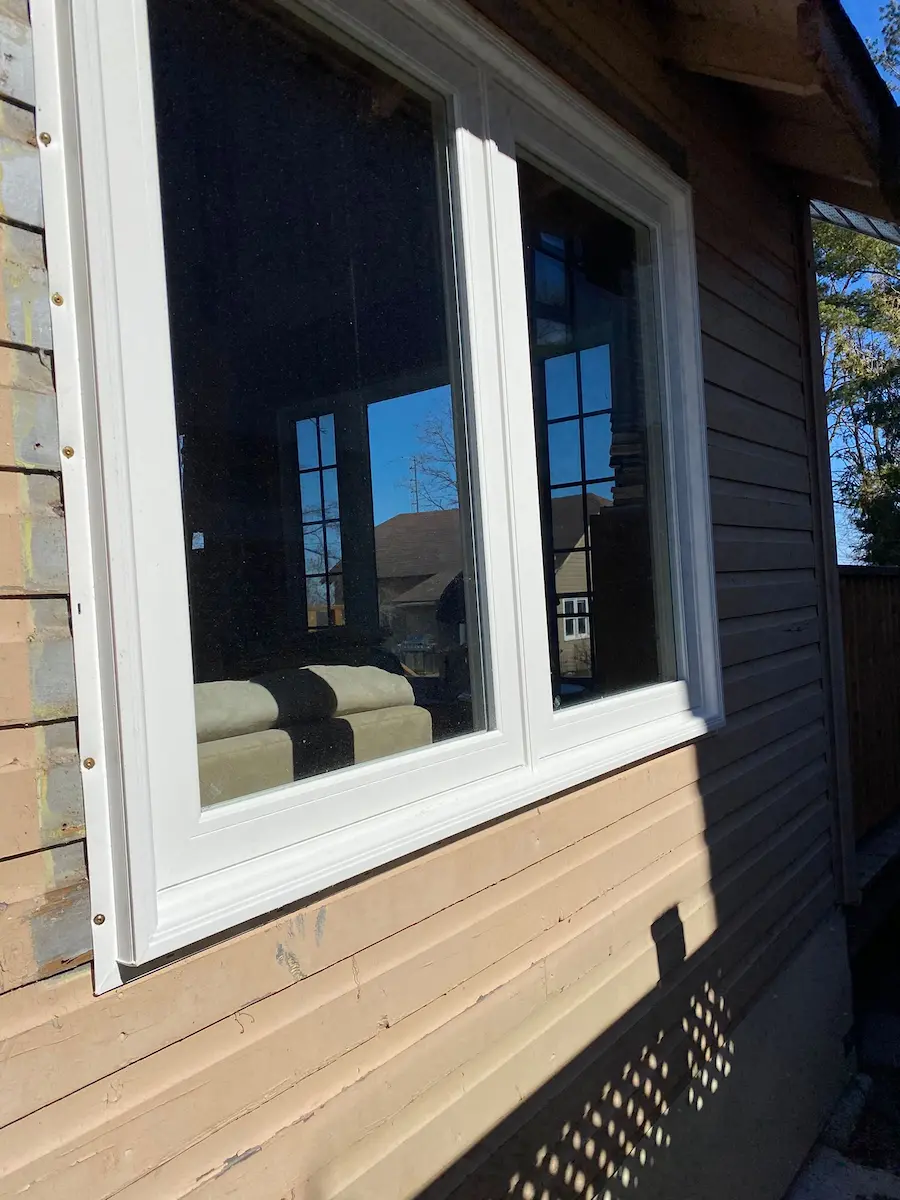
A full set of replacement windows throughout the home, in the sizes and configurations already there. No changes to openings, no reframing, no structural work. Clean, straight-across replacements — bring the new windows in, take the old ones out, make sure the fit and the seal are right, trim them out in white to match the new frames.
The windows themselves are white vinyl, double-pane, with integrated flanges for proper flashing tie-in. Standard residential construction, nothing exotic. With windows, honestly, it’s less about the product and more about the install. A high-end window sealed poorly will fail before a mid-range window sealed well — we’ve seen both ends of that play out. Where the money really shows up is in how the flashing wraps, how the trim seals, and how the opening got prepped before the new unit went in.
The Install Process
Every window came out one at a time. We never stripped the house of its windows all at once — partly because of weather (Ontario doesn’t wait around for your project to finish), partly because it’s the kind of work that’s better done methodically than quickly. One opening open at a time, one window finished before the next one starts.
Old window out first. Opening cleaned up. Any rot or soft framing around the old rough opening got addressed before the new window went in. On older homes, this is where hidden problems show up — a little water damage at a sill plate, some soft wood around a jamb from a drip that’s been going quietly for a decade. Nothing we didn’t expect to find on a house of this age, all of it dealt with before the new unit got set.
The new window got dry-fit first. Checked for square. Shimmed where needed — almost every opening needs at least a little shimming, especially on a house that’s settled over time. Then fastened through the flange, with proper flashing tape wrapped around the perimeter to tie into the existing house wrap and siding.
For the gap between the rough opening and the window frame, we used low-expansion foam. High-expansion foam will bow a vinyl frame out of square if you’re not paying attention, and once that happens the sash won’t operate properly for the life of the window. Low-expansion, applied in a controlled bead, fills the gap for insulation without deforming the frame.
Exterior trim went on last. White PVC trim, sealed with a bead of exterior-grade caulk, screwed through to the framing behind the siding. The trim does two jobs — it finishes the look, and it covers the flashing and the edge of the siding where it meets the window. That join is where most window installs quietly fail over time, so that’s where we spent the extra minutes.
Inside, the windows got trimmed to match the existing interior work, with any drywall or jamb adjustments handled as part of the scope. Nothing left half-done for the homeowner to finish on their own.
What's Included in This Project
Project Gallery
A few more shots from across the project. Window work doesn’t photograph the way a new build does — the parts that matter most are mostly hidden behind trim and siding once the install is finished. But the finish work tells its own story. See more projects we’ve completed.
![looking up at window from below, showing trim detail against sky]](https://nsccontracting.com/wp-content/uploads/2026/05/looking-up-at-window-from-below-showing-trim-detail-against-sky.webp)

Looking for Window Replacement in Simcoe County or Across Ontario?
If your windows are past their best, we’d be glad to come out and take a look. We handle exterior window replacement across Hawkestone, Orillia, Barrie, the Oro-Medonte area, and the rest of Simcoe County — along with our regular coverage through Northumberland County, the Kawarthas, Peterborough, and Durham Region.
Most window jobs don’t need a big consultation up front. We come out, measure, check the condition of the openings, and give you a straight quote. Some properties have complications — older homes with rot issues, irregular openings, or siding that can’t be reworked easily — and we’ll flag that on the first visit rather than halfway through the job. No surprises.
Start Your Project
If you’ve been putting off the window replacement because you’re not sure where to start, reach out. We can come take a look and talk through what makes sense for the property — no pressure, no hard sell, no pretending every job is the same.
Some windows need replacement tomorrow. Some can wait another season. We’ll tell you which is which honestly.

Get in Touch with Our Experts Today
Our unique skills and experience ensure top quality results.
N.S. Custom Contracting Inc. — Your satisfaction is our priority
- 905-797-3000
- info@nsccontracting.com
- 3058 Ganaraska Rd, Campbellcroft, ON L0A 1B0, Canada
- Mon - Fri : 8.00 AM - 5.00 PM